Acumatica provides an inbuilt functionality to import data from external sources. We come across many situations where we need to import data into Acumatica from external file and this feature comes in handy. Acumatica supports multiple file types for importing data.
Importing data into Acumatica is a 3-step process and we will be demonstrating each step in this blog. We will be importing an Excel workbook into Acumatica.
Step 1 – Data Provider:
Acumatica Data provider includes following popular and commonly used data provider types.
- Excel
- SQL
- CSV.
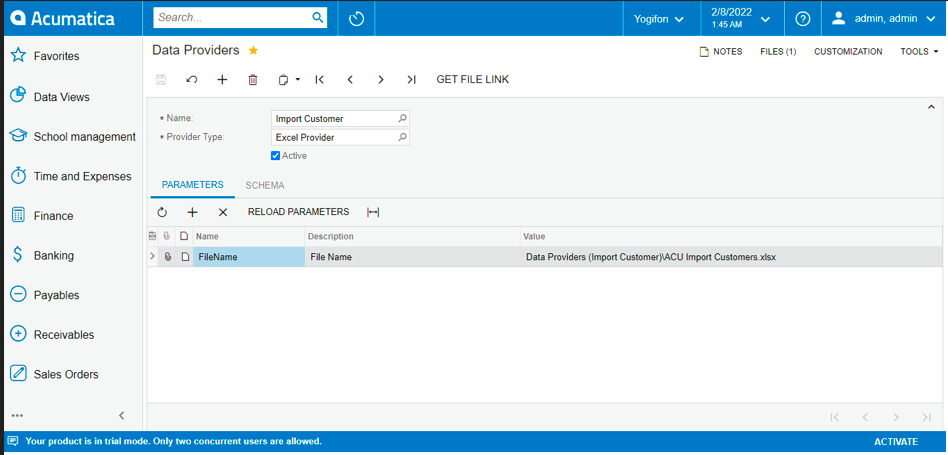
Open Data Providers Screen (SM206015) and click on Plus (+) button to create a new record.
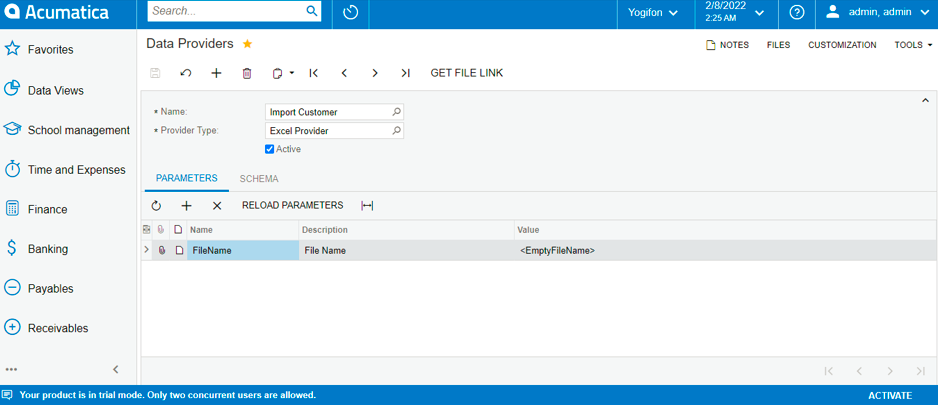
- Name: The unique name that helps to identify the provider. Selector can be used to select the existing provider.
- Provider Type: As discussed above, there are various data provider types available for selection and we will be using Excel Provider Type.
- Parameters: Under Parameter tab, select the workbook to be used.
Add the excel workbook file by clicking on Files option located in top-right corner. Browse the file and click on Upload. Once the file is uploaded, close the popup window.
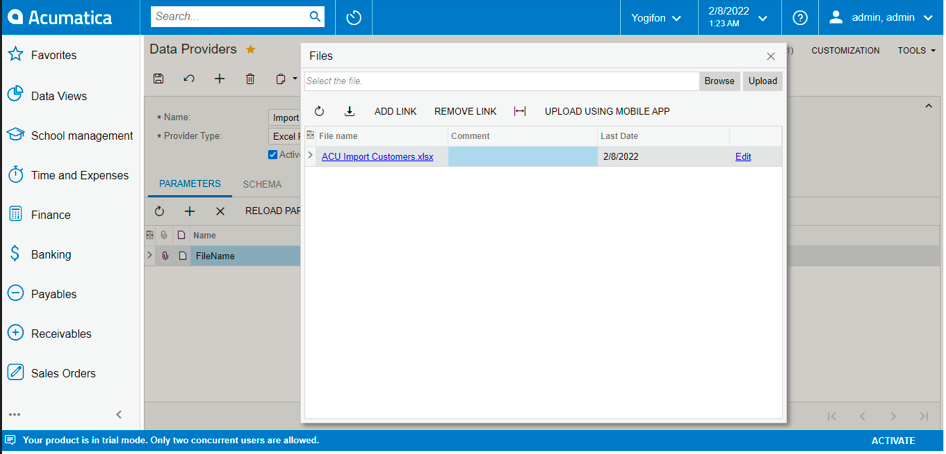
The selected file will appear in data provider screen under Parameters tab.
- Schema: Under Schema tab, select the sheet and the columns to be used.
Once the file is uploaded, we have to select Schema for the provider. Select the worksheet (i.e., Template) from the left panel (in case of multiple worksheets) and click on Fill Schema Objects and then select Fill schema Fields. Make the fields Active that needs to be used for import process.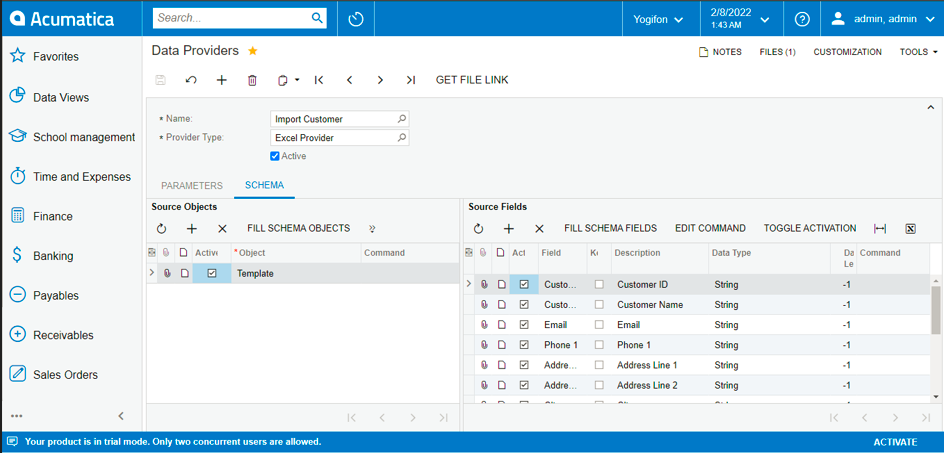
Step 2 – Import Scenarios
Import Scenarios Screen is used to specify the mapping of fields selected in Data Provider and the Target object where the data is to be imported. We can copy the existing one and make modifications in the same or create an entirely new scenario.
Open Import Scenarios Screen (SM206025) and click on plus (+) button to create a new record
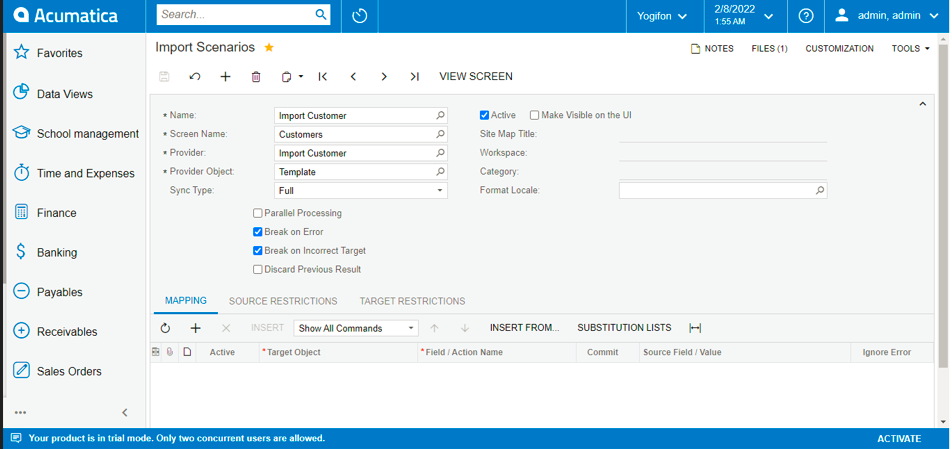
- Name: The unique name that helps to identify the import scenario. Selector can be used to select the existing scenario.
- Screen Name: Specify or select the screen to import data.
- Data Provider: Select the Data Provider created in Step 1 that will be used for the import operation.
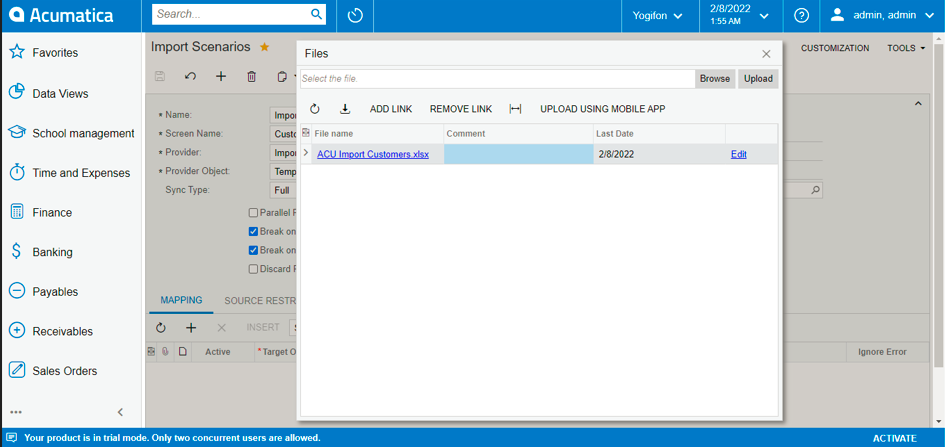
The importable file is available in Files option located in top-right corner. You can upload the new updated file if required.
In details section, specify the mapping of the columns from the Excel spreadsheet to the fields on the screen for the data to be imported, and Save the changes.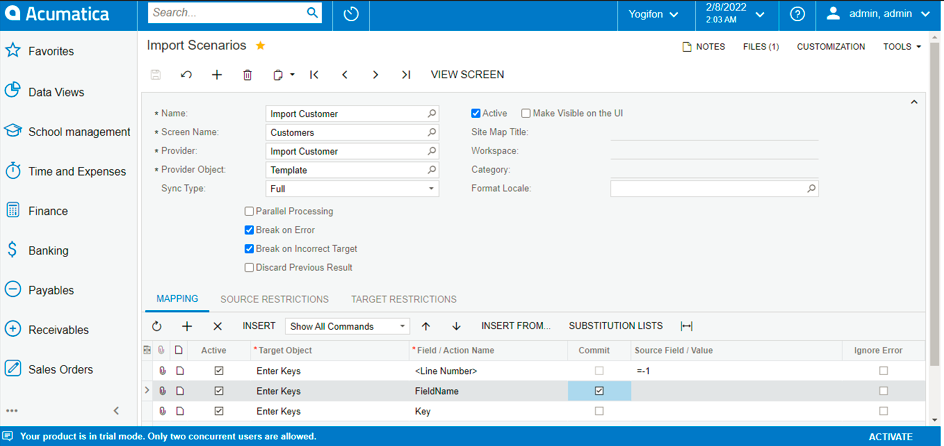
Step 3 – Import by Scenario
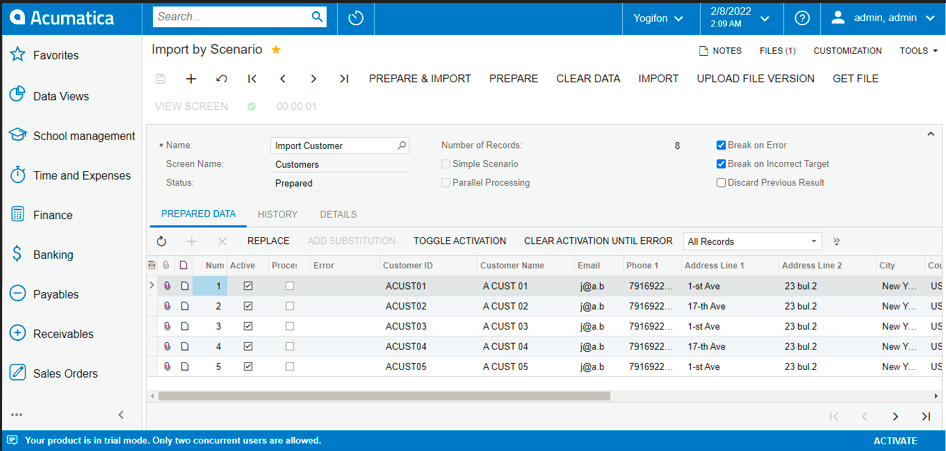
Open Import Scenarios Screen (SM206036) and click on Plus (+) button to create a new record. Create a new “Import by Scenario” or use the existing one to import the data into Acumatica. If the file has any updates, upload the new file to import.
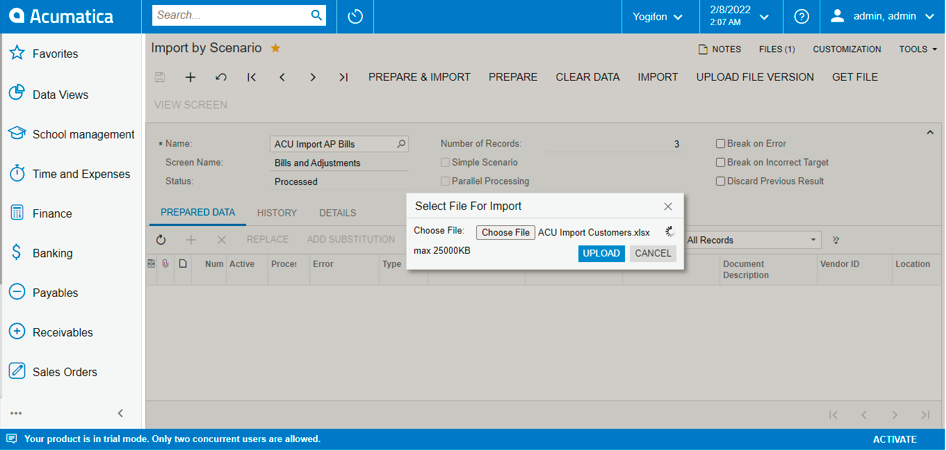
Click Prepare button to read the excel file data into the Prepared Data grid. Once the data is successfully prepared, Status changes to Prepared.
Review the rows and select/unselect the Active checkbox to include it for import processing. Also, if any row is already processed, then select the Processed checkbox to ignore it from importing.
Once the data is ready, click Import button.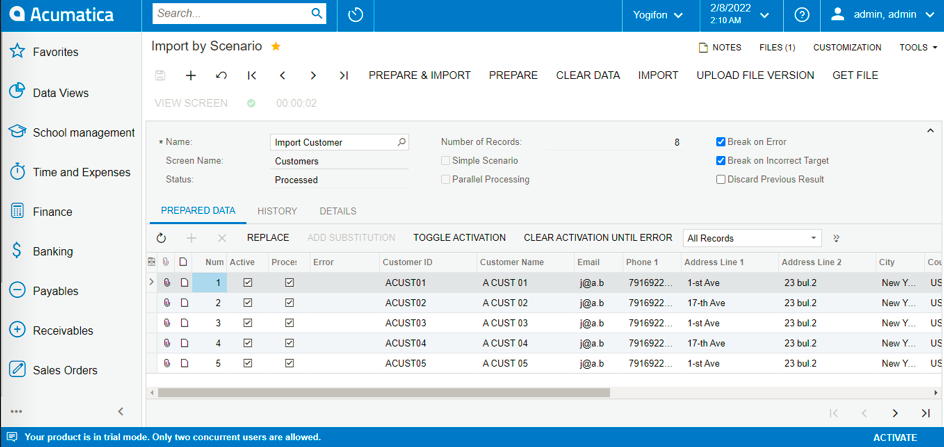
On performing Import operation, Status changes to Processed, and the checkbox in processed column is selected if the row data has been successfully imported. In case of error, the operation will halt, and user can make the changes and re-import the remaining records.
The 2-step process can be combined by clicking “Prepare and Import” button.
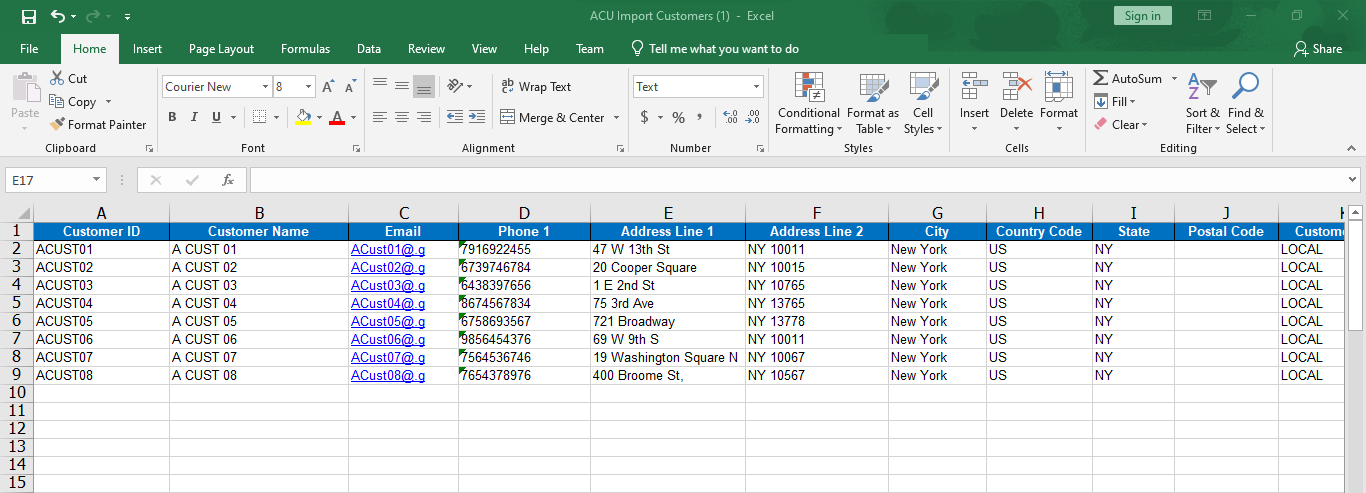
Sample import file used to demonstrate the blog is show below:
Hence, user can create multiple scenarios to import various file templates, by following the above-mentioned steps and avoid customization.

