LOP stands for Loss of Pay. In some organizations, this is also called as LWP (Leave Without Pay) or UPL (Unpaid Leave). In order to calculate the LOP days and deduction automatically in Sage X3 people there are few steps needs to be followed, Below are the details.
LOP needs to be applied from the portal by employee or HR, The below are the configurations required to be setup LOP leave in Sage X3 people for automatic LOP configuration.
Step: 1
Navigation: – Time management -> Parameter Definition -> Nature of Event
Create Nature of Event for LOP.
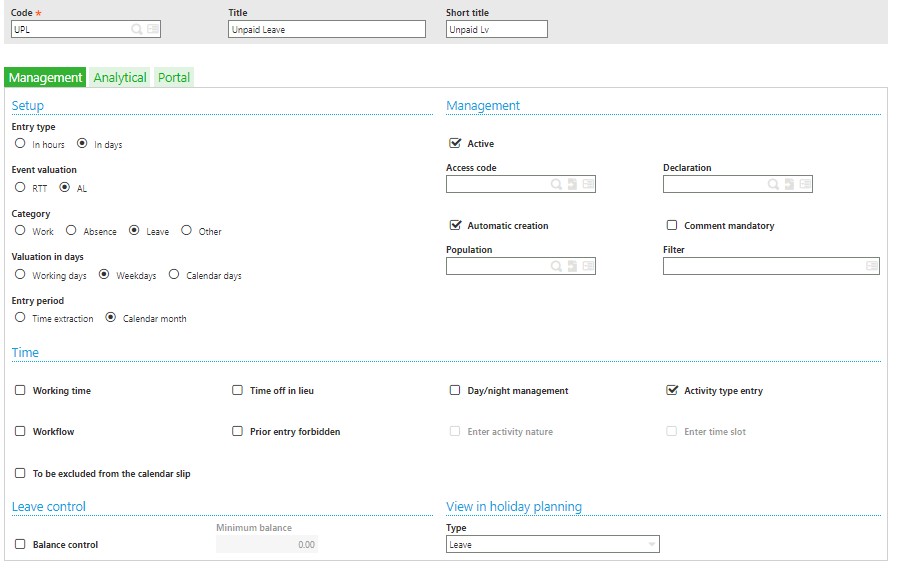
Select the values as shown in the image as it will create the LOP event which can be further use to configure the LOP leave type
Step: 2
Create a variable to input the LOP days in payslip
Navigation: – Setup -> Payroll Plan -> Variables
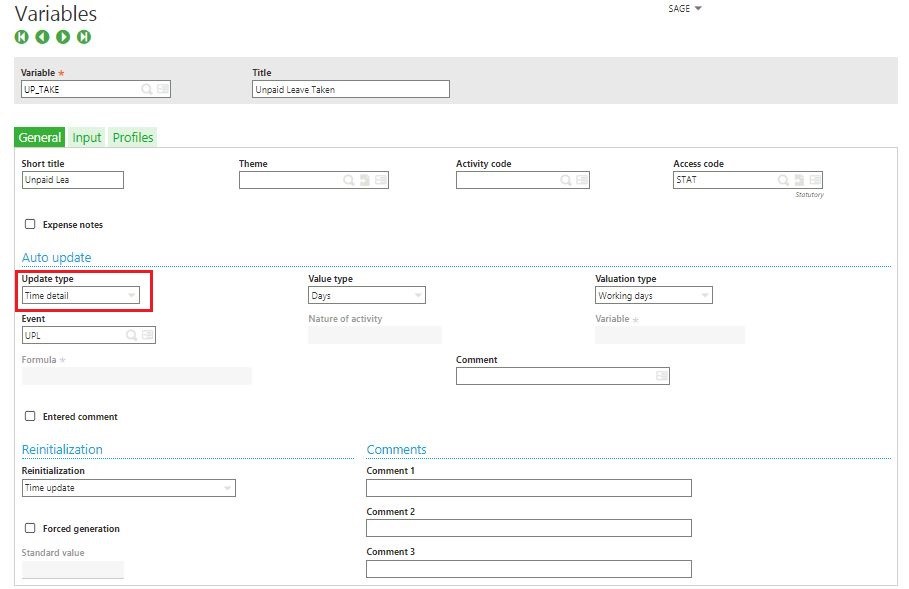
As shown in above screen, update type should be selected as ‘Time detail’ for automatic leave capture.
Set the input as employee so that the LOP days can be entered (if need to do the manual transction) through Employee payslip under the Leave tab screen as shown below.
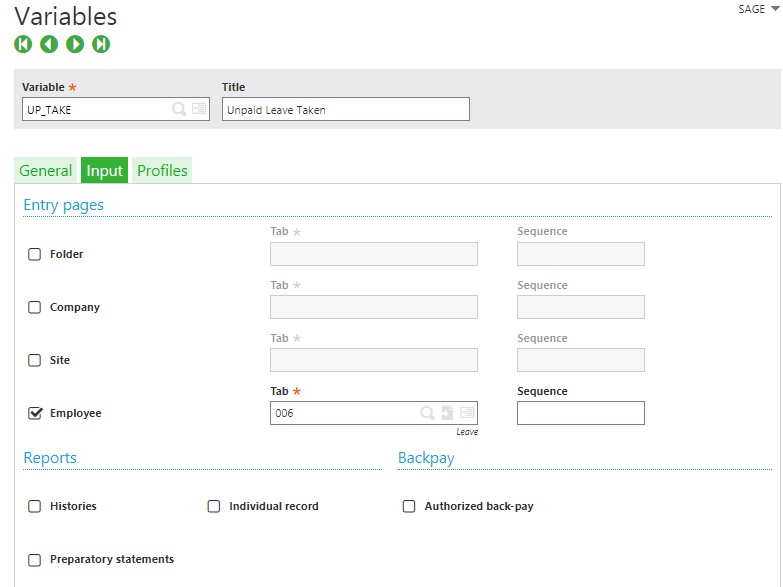
Note – Make sure that to check the profiles wherever this configuration applies.
Step: 3
In order to calculate the LOP deduction amount there is a need to create the salary component in the headings, below are the details for the same
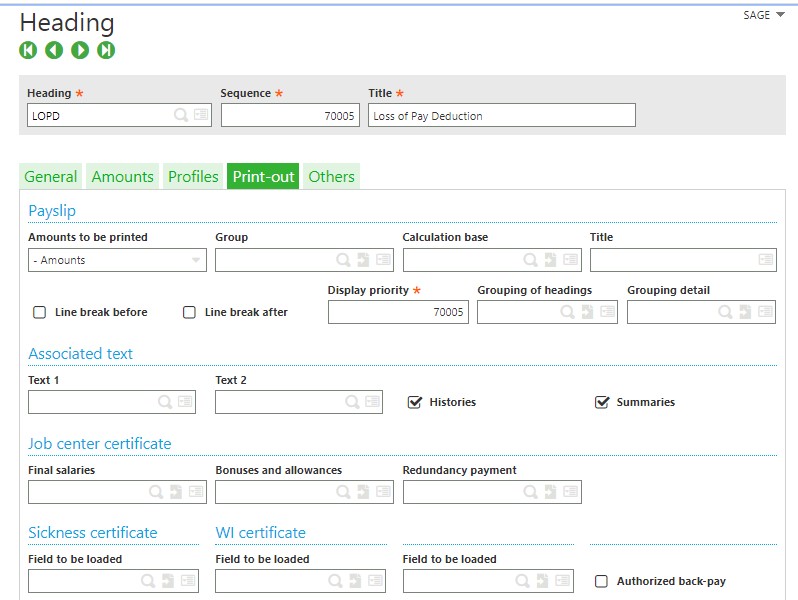
Navigation: – Setup -> Payroll Plan -> Headings
Formula = Gross Salary / 30 (This heading will calculate the gross salary of employee for one day)
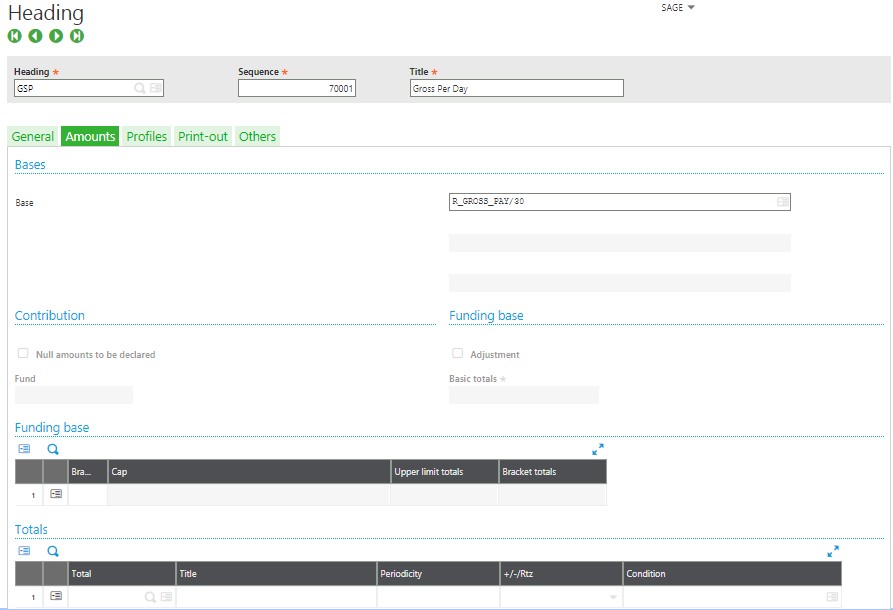
Create Heading for LOP calculation and map the relevant total
Formula = Gross per day* Number of LOP days (LOP variable created above) This heading will calculate the Loss of Pay deduction amount based on the number of LOP days entered in the portal
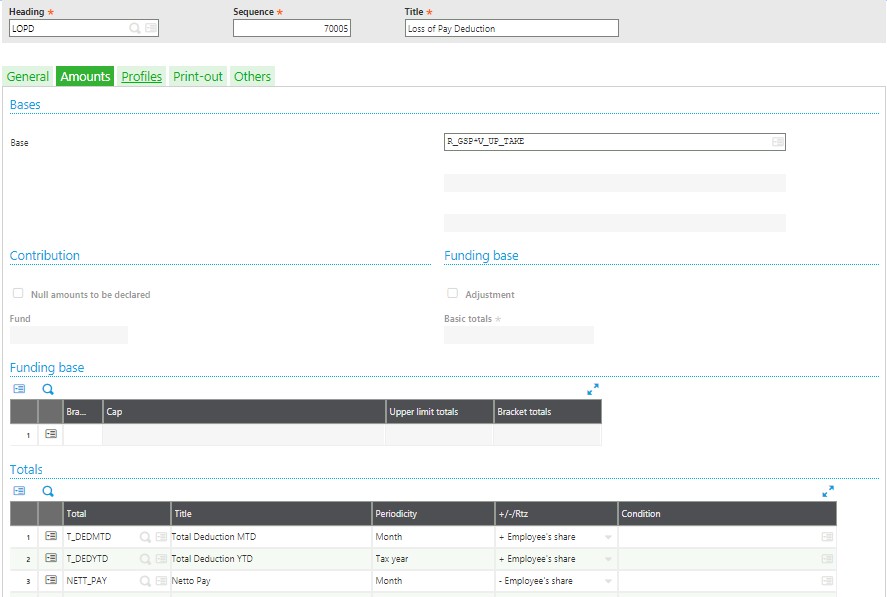
The below mentioned totals are to be linked for the heading LOPD;
| Sr. No | Total | Description |
| 1. | T_DEDMTD | This total is used for calculating monthly deduction |
| 2. | T_DEDYTD | This total is used to store values for the yearly deduction report |
| 3. | NETT_PAY | This total is used to calculate net pay |
Select the appropriate values as shown in the above screen
Step: 4
After setting up the configuration for headings there is a need to create the Totals for LOP days which will be used to fetch the values in reports and leave related processes
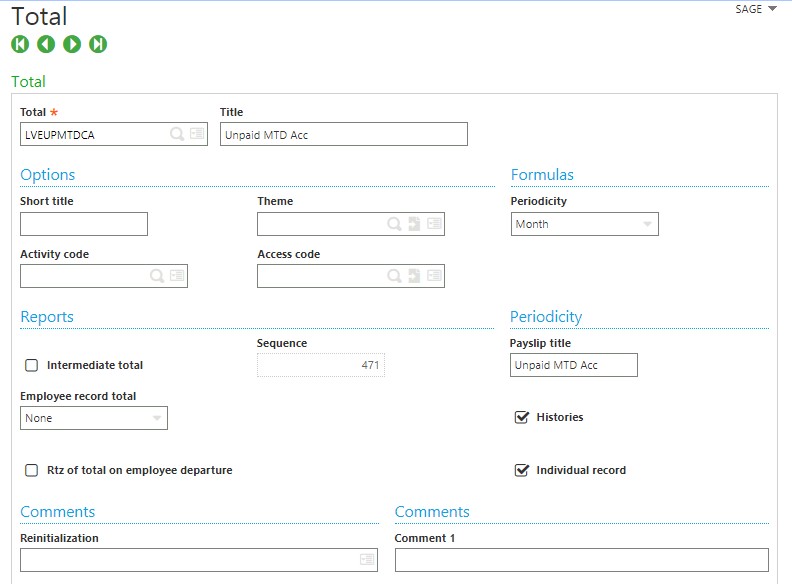
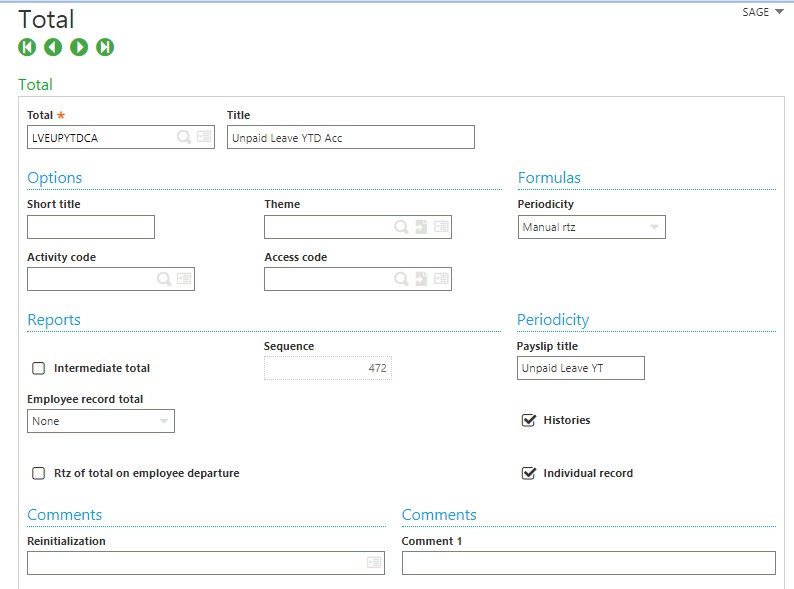
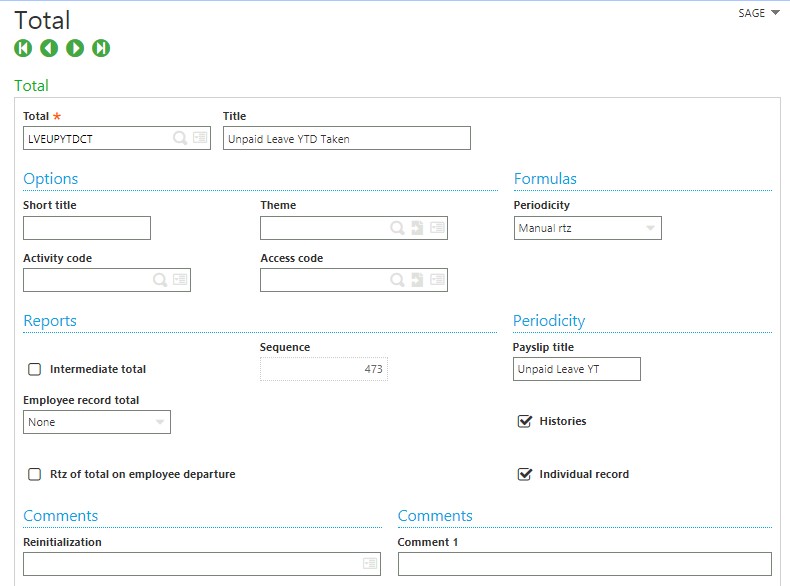
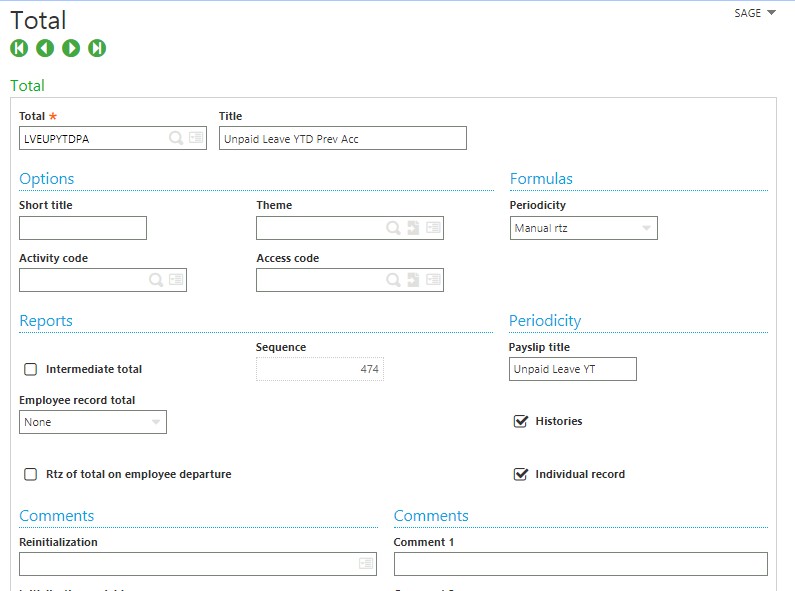
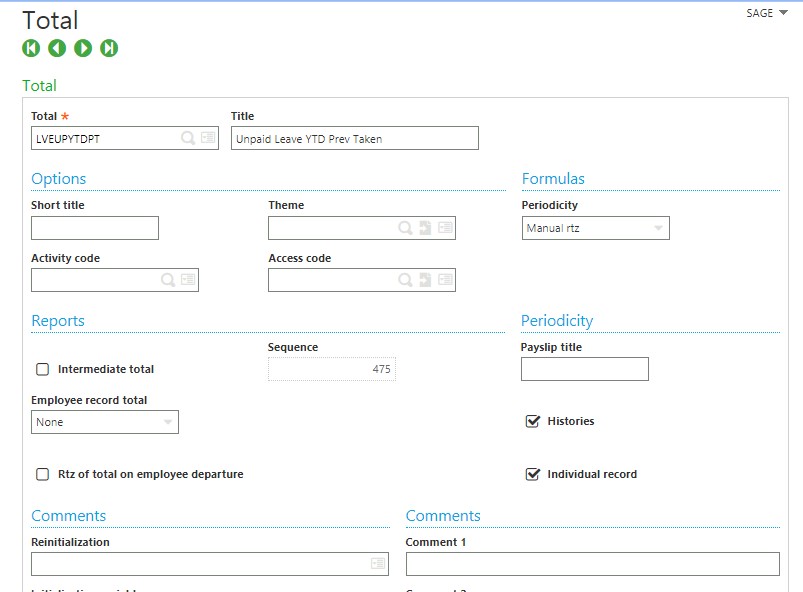
Creation of totals as shown in below fig;
Navigation: – Setup -> Payroll Plan -> Totals
A) Unpaid MTD Accrual
B) Unpaid YTD Accrual
C) Unpaid Leave YTD Taken
D) Unpaid leave YTD Prev Accumulated.
E) Unpaid leave YTD Prev Taken
Step: 5
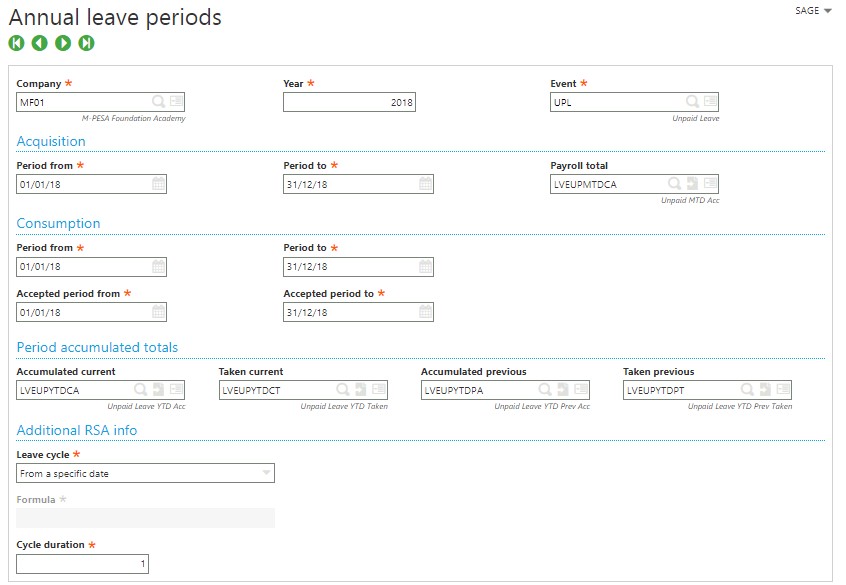
a) Create Annual Leave period for LOP and map all the totals as shown below.
Navigation: – Time management -> Leave – Absence -> Annual leave -> Annual Leave Periods
b) Create RTZ Heading and map all the totals as shown below;
Navigation: – Setup -> Payroll Plan -> Headings
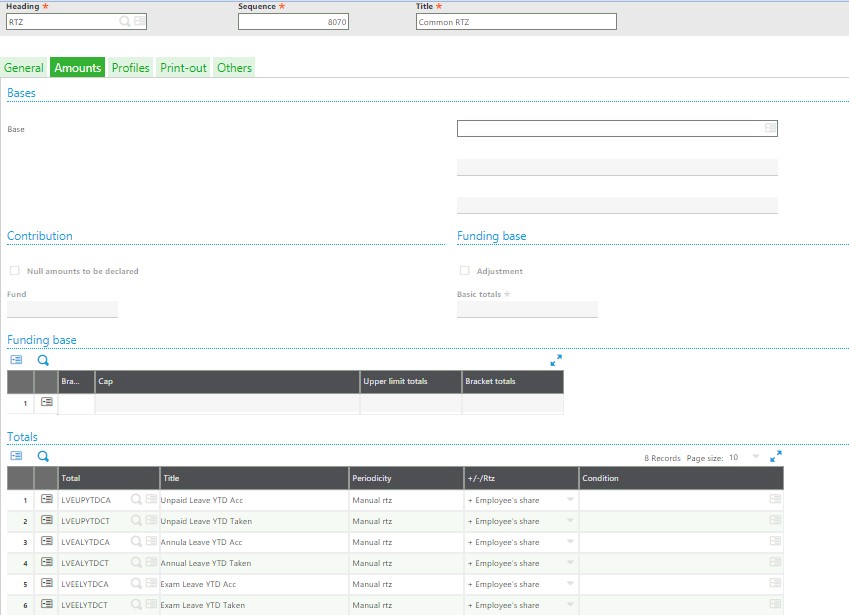
This is the common RTZ which will be used to lapse all types of leaves during year-end process.
Step: 6
Entry of Absences from admin login
Navigation: – Time management -> Leave – Absence -> Absences -> Entry of absences
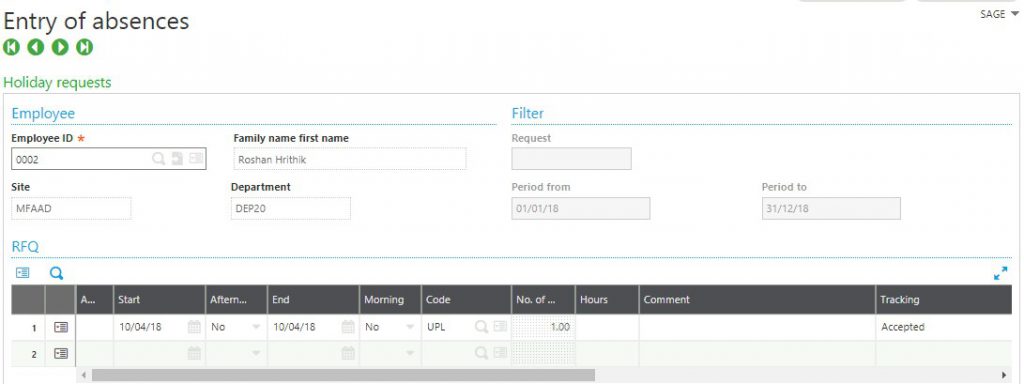
| Sr. No | Fields | Description |
| 1. | Employee Id | A user can select Employee Id in this field for whom LOP leave has to be updated |
| 2. | Start | Start date of the leave will be entered in this field |
| 3. | End | End date of the leave will be entered in this field |
| 4. | Code | Leave Code of the leave type will be selected in this field |
Step: 7
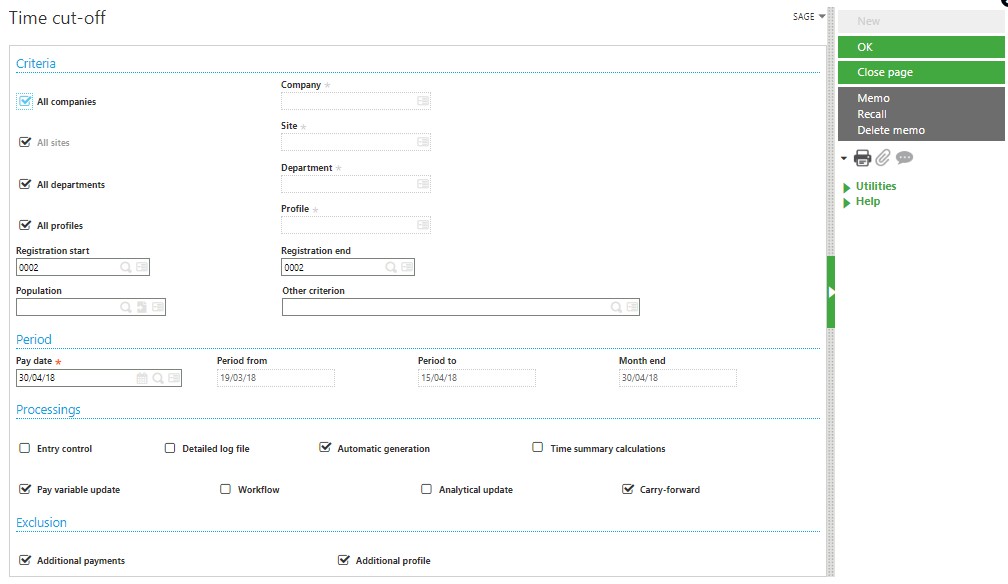
Time cut-off
This function enables a user to fetch all the leaves applied from employee portal and admin login.
Navigation: – Time management -> Time – Labor -> Input -> Time data transfer
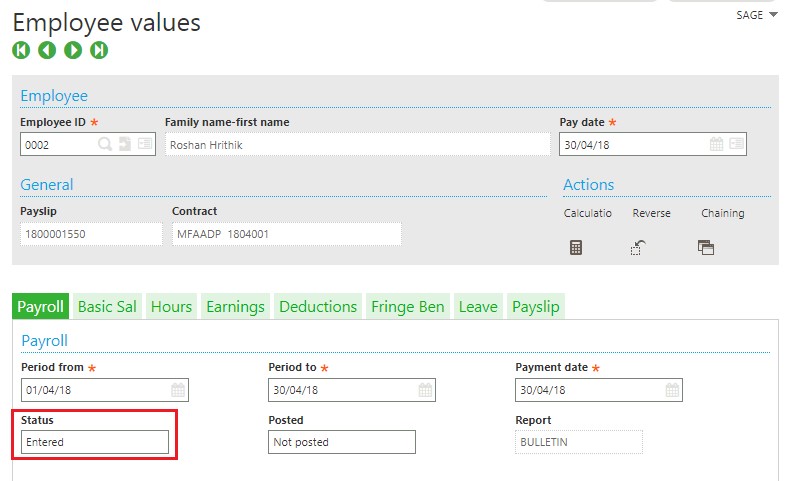
Note :- Before doing time cut-off process make sure that payslips of employees for whom LOP has been updated are in entered state as shown below;
Navigation: – Payroll -> Payslips -> Employee payslips
Step: 8
Check whether the leave details are updated in payslip screen after doing time cut-off
Navigation: – Payroll -> Payslips -> Employee payslips
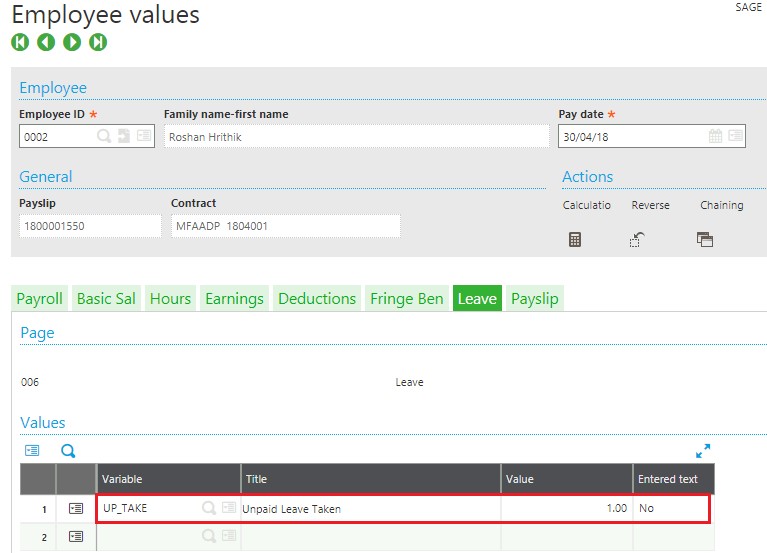
Note: – A user has to Process payroll for the LOP value to be calculated and get reflected in payslip as shown below
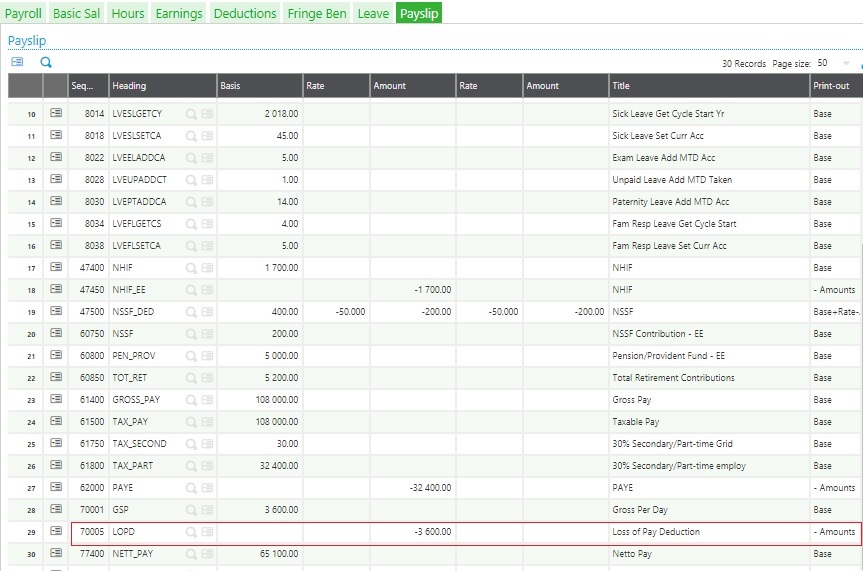
Step: 9
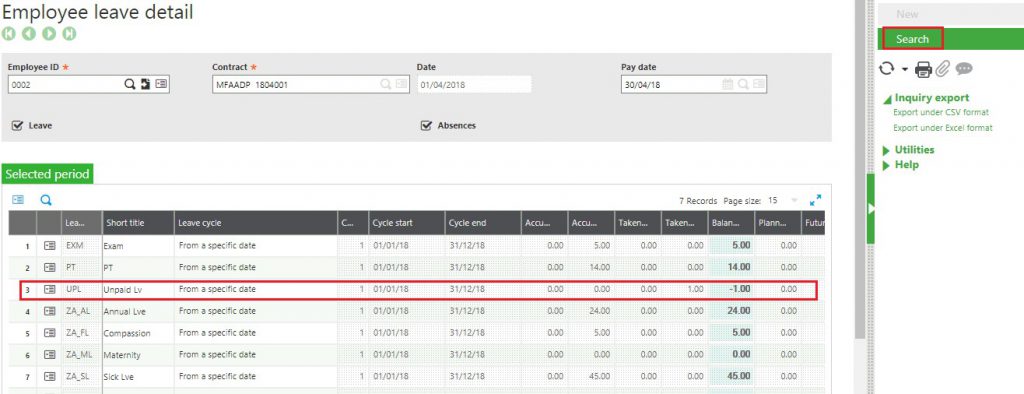
a) Check leave taken value in Employee Leave detail
Navigation: – Time management -> Leave – Absence -> Inquiries -> Employee Leave detail
b) Check leave taken value in Employee Portal
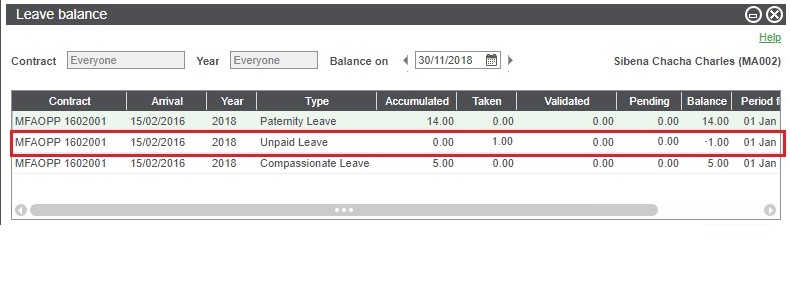
By following the above mentioned steps a user can very easily create LOP leave type.
