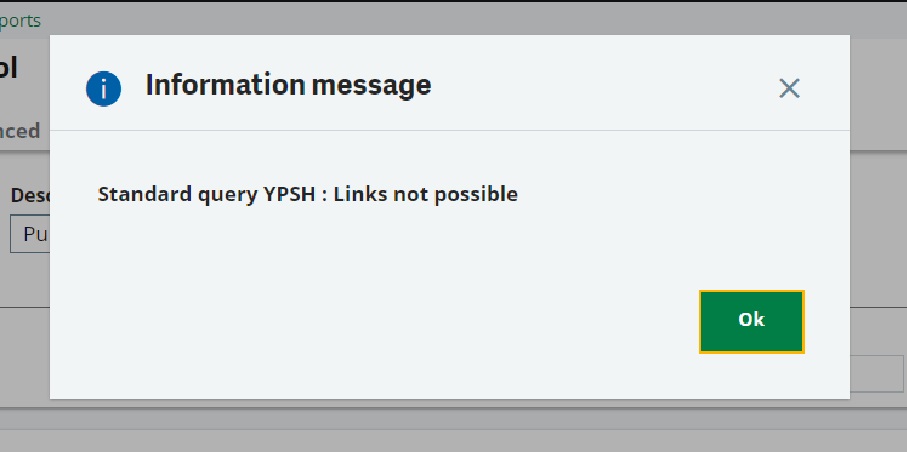
Retrieving data from a single table for the Sage X3 dashboard is straightforward. However, if you require data from multiple tables or linked tables, attempting to add a field from those tables triggers an error message: “Standard Query ‘QUERY_CODE’: Links not possible.” In our recent blog post, we’ve provided a clear solution to address this issue.
Step 1: The error that appears when you add a field from a different table is as follows.

Fig 1: Error 1_Linked not possible

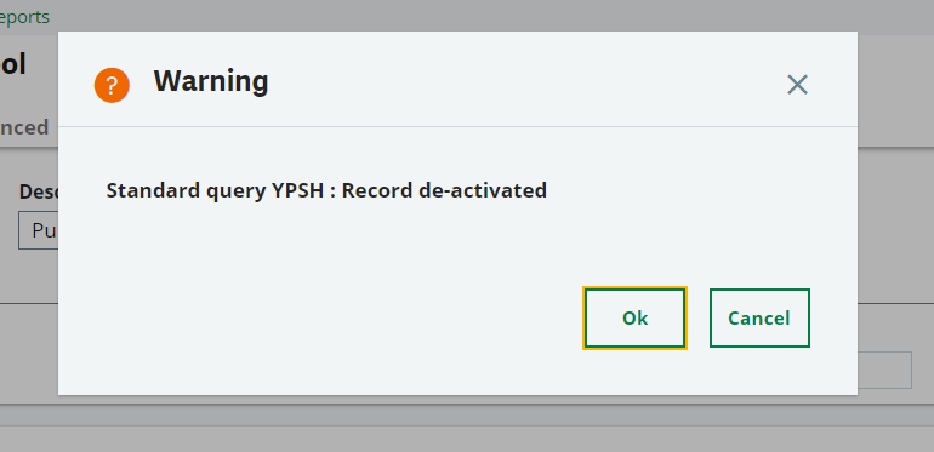
Fig 2 Error 2_Record de-activated
This issue will appear when you add a field from another table without linking it to an existing table. To resolve it, save the flow and select “YES” when prompted. Your query tool will then be immediately deactivated. refer below image.

Fig 3_Query tool
To activate and make tables usable, correctly link them using the “Link” section in the Advanced tab.
Begin by incorporating the required fields from another table into the fields tab grid, as indicated in the following additions. This step simplifies the linking process and extends the functionality of the tables.

Fig 4_Fields
We’ve included the ‘TEXTE’ field from the ATEXTRA table to showcase additional descriptions on the dashboard. This enhancement simplifies the process while expanding the information available for display.
Step 2 :
Once you’ve added the necessary fields from other tables, proceed to link them with the tables whose data or fields will be displayed on the dashboard. This step streamlines the process and broadens the scope of information available for display.
To establish the connection between tables, you’ll require the index key of another table. Follow the process outlined below to effectively link the tables. This method simplifies the task and ensures seamless data integration.

To link tables, navigate to the “Links” section found in the Advanced tab.
Input the index key of the other table to establish a link between tables. For example, as shown in the image above, we’ve linked the PREQUIS table with the ATEXTRA table. This process streamlines data connectivity and facilitates seamless interaction between tables.
The data used for linking tables.
Index key of ATEXTRA table :
- [F:AXX]AXX0 = CODFIC + ZONE + LAN + IDENT1 + IDENT2
Value which we have passed :
- [F:AXX]AXX0 = ‘ITMMASTER’ ; ‘DES1AXX’ ; ‘ENG’ ; [F:PSD]ITMREF ; ”
ITMMASTER = It will display the data in which ITMMASTER is present in the field of CODFIC
DES1AXX = It will display the data in which DES1AXX is present in the field of ZONE
ENG = It will display the data in which ENG is present in the field of LAN
IDENT1 = It will display the data in which IDENT1 is present in the field of IDENT1
IDENT2 = It will display the data in which IDENT2 is present in the field of IDENT2
To link tables, use the index keys as demonstrated in the image.
After inputting the index key details to link the tables, you should save and validate the query tool. If the linking is correct, no errors will be displayed. However, if there’s an issue, an error message indicating “Links not possible” will appear. This step ensures the integrity of the linking process and identifies any potential errors for resolution.
Once you’ve successfully validated the query tool without encountering any errors, log out of Sage X3 and then log back in. Upon logging in again, you’ll find the required fields that you added from another table through linking data with index keys. This process ensures that the modifications made to the data display are properly reflected after re-logging into the system.
Now, you can view the necessary data from another table that you added to the fields of the query tool. You have successfully accessed the fields and data you needed.
