In Sage X3, workflows are used to automate and streamline business processes by defining a sequence of tasks that need to be performed in a specific order. These tasks can involve approvals, reviews, or other actions necessary for the completion of a business process. Workflows in Sage X3 help organizations enforce consistency, reduce manual intervention, and improve efficiency.
In Sage X3, you can assign multiple signatures in a workflow on different objects to implement a multi-level approval process. This allows for more complex and controlled workflows, where different users or groups need to review and approve various stages of a business process. But when we create the custome workflow the signature history is not getting the proper flow the flags are not updated.
Here’s a step-by-step description of how to update the fields in the signature history table for a custom workflow in Sage X3:
STEP 1:-
Workflow Setup: First, you need to define the workflow itself. Go to the –>>”Workflow Setup” screen in Sage X3, where you can create and configure the workflow according to your business requirements.
Specify the objects for which you want to implement the workflow, such as purchase orders, sales orders, or expense reports.
STEP2:
After clicking on workflow rules,
Jump to: Assignment Rule: Create a New Assignment Rule
Signature Assignment: Once you have defined the signature levels, you can assign the relevant users or user groups to each level. This is done based on the roles and responsibilities of the users in your organization. Sage X3 allows you to easily select the appropriate users or groups from your system’s user database
STEP 3:-
-After clicking on the Assignment Rule display below the
-Enter the name of the assignment rule, the data model, and Number of ignatures.
-The “number of signatures” field specifies how many signatures will be used throughout the approval process.
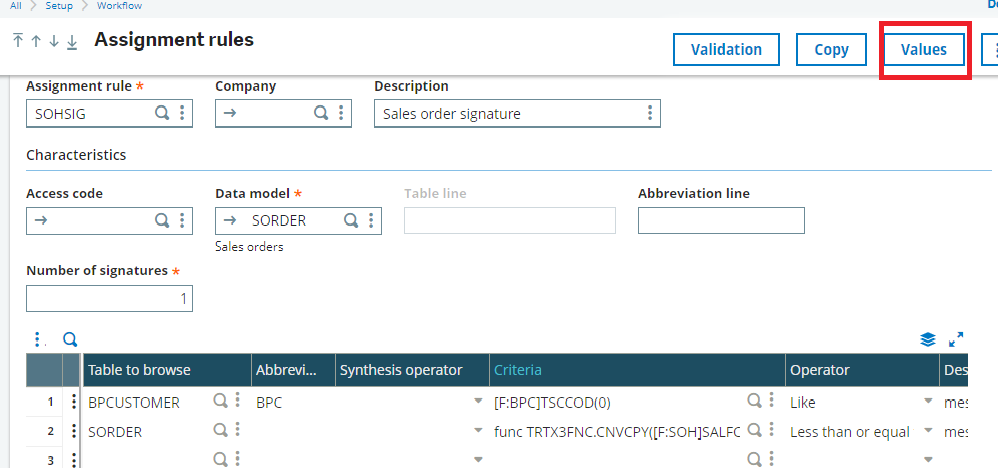
STEP 3:
After all the creation processes Save and validate the assignment rule and workflow rule.
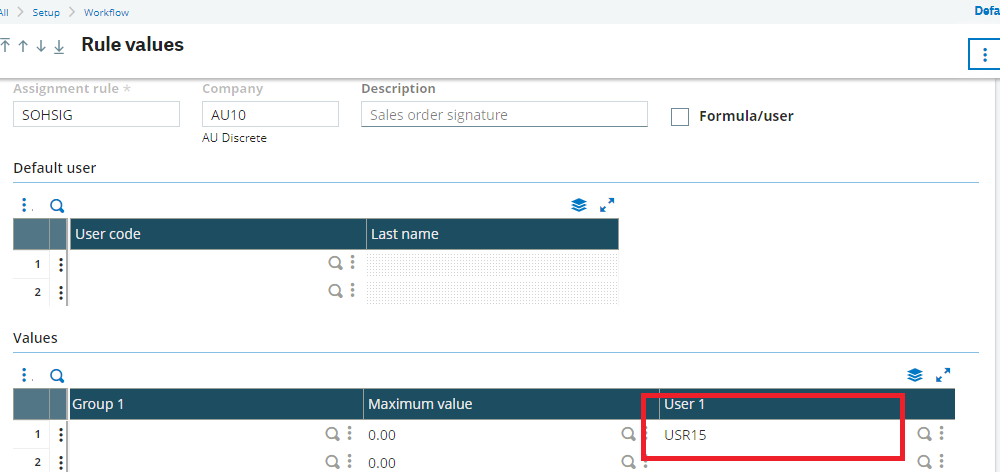
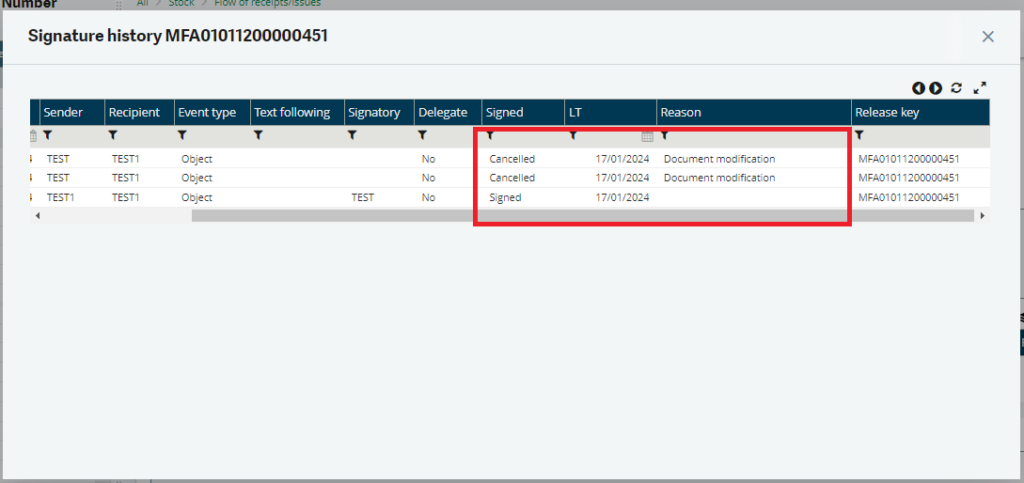
STEP 4:- After completing all the creation processes and successfully triggering the workflow to the next user, such as ‘TEST2,’ we observed in the signature history, as shown in Figure 4, that the signed flag was updated to ‘To sign.’ However, when the user modified the order and saved it, the workflow was triggered again with the updated order, and the signed flag was updated to ‘Cancelled,’ and the reason flag was updated to ‘Document modified.’ However, for the custom workflow, the signatures history table is not updated automatically, as is the case with the standard workflow. Therefore, we need to manually update the flag in the table.
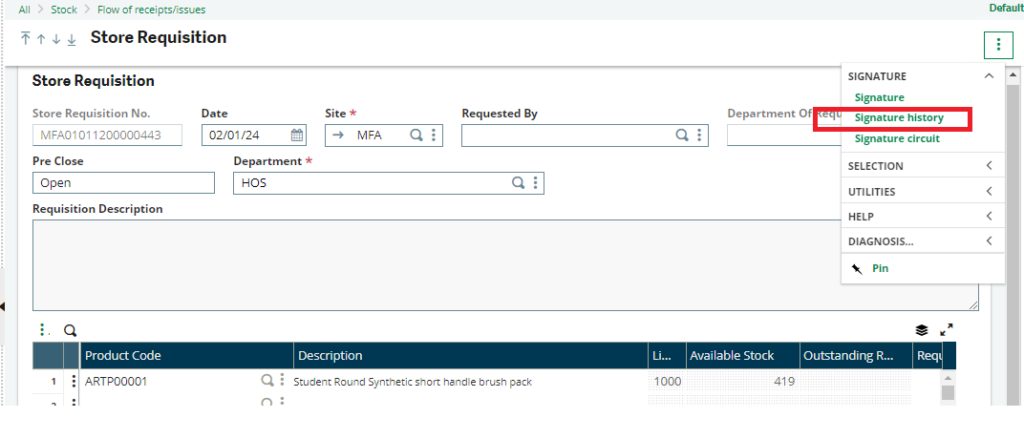
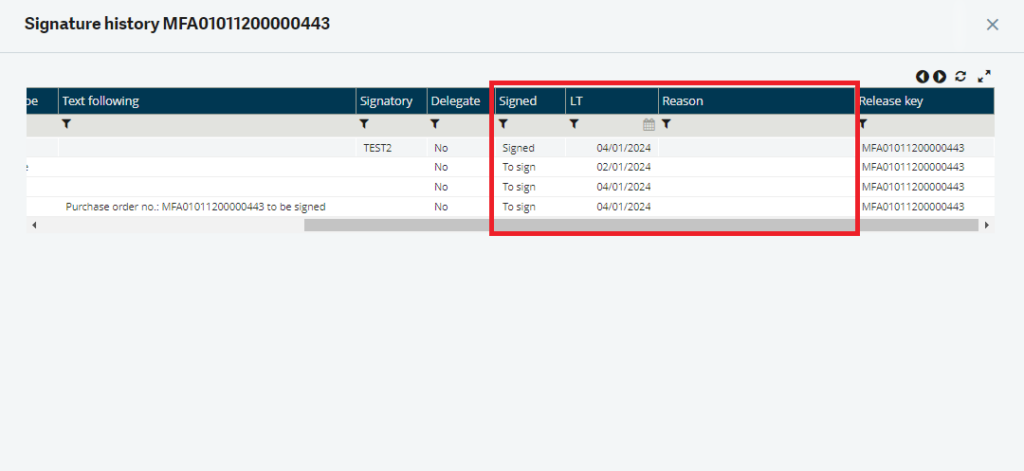
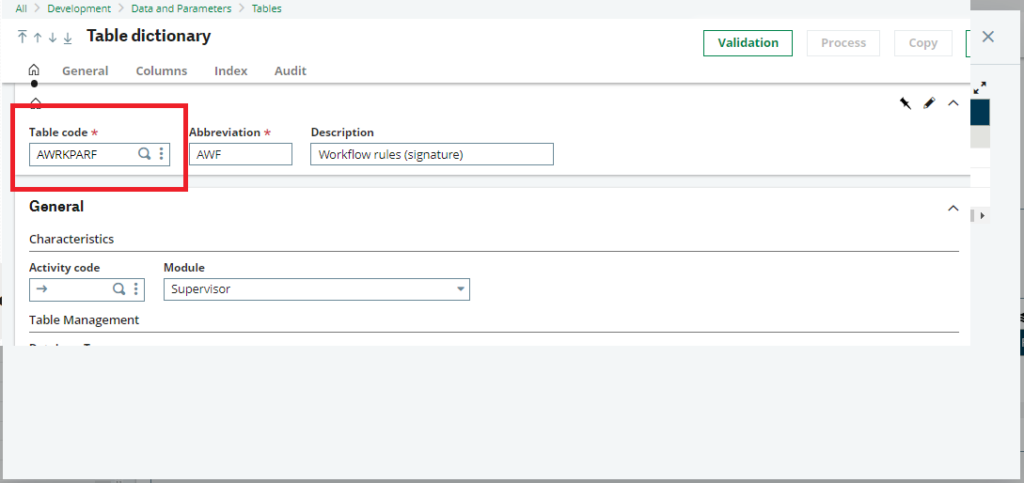
STEP 5: The signatures history data is stored in the ‘AWRKPARF’ workflow rules (signature) table. Therefore, we need to write code to update the flag during the modification process. After writing the code, the ‘Signed’ and ‘Reason’ flags are updated successfully. Refer to the below Figure 6.
This blog help us to know about the use By implementing multiple signatures in workflows on different objects, Sage X3 enables you to create sophisticated approval processes that align with your organization’s specific requirements. This promotes better control, compliance, and efficiency in handling critical business operations an how to update the signature history table flags for the custom workflow .

