In this blog, we will discuss how to create and activate the Community experience in Salesforce. Salesforce provides the framework in which you can manage or build a custom portal for a specific set of customers, partners, and employees. It will give a rich interface for the brand management and customer portal also user can manage the community portal from the mobile, Tablets as well as from Desktop.
Activating the Salesforce Lightning Component for community experience.
Initially we need to activate the Salesforce lightning community experience for Salesforce org. below are the steps to activation
- Firstly, log in to Salesforce org.
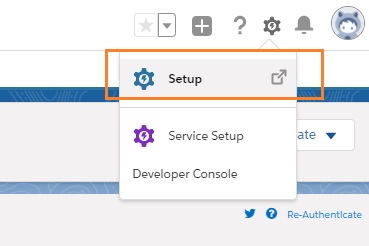
- Secondly, navigate to “Setup”
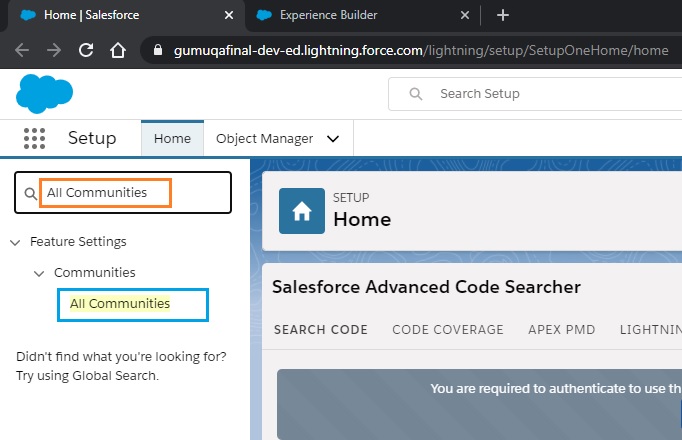
- Thirdly, go to the “Quick” find box and search for “All Communities”.
- After that, click on “New Community”

- Firstly, choose a community experience theme as per the desired appearance and behaviour.
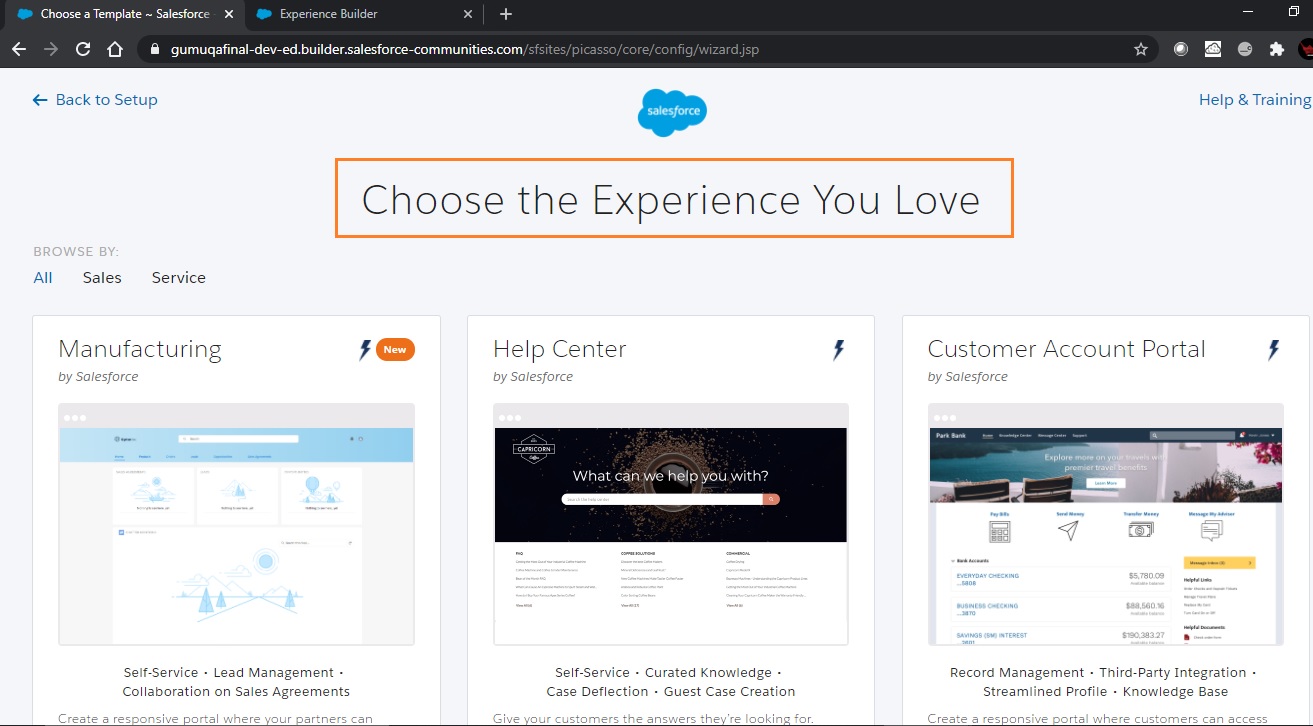
- Once selected the Theme, click on “Get Started”
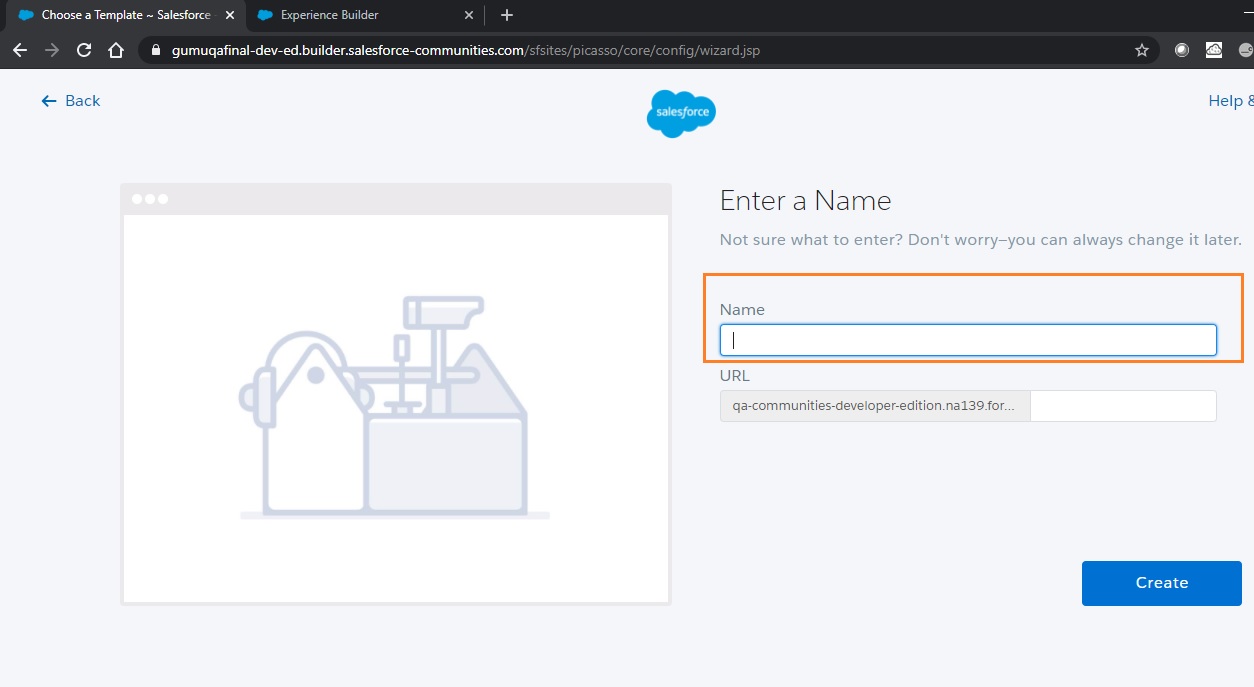
- Finally, enter a (desired) “Name”
- Once the setup is completed, it will navigate to the “Community Builder”. After that, it provides you below Options using those options you can swiftly modify the user experience.
- Component: To manage the custom and Standard component
- Theme: To Manage themes and UI based Styling
- Page Structure: To Manage the community content
- Setting: To manage administrative Settings
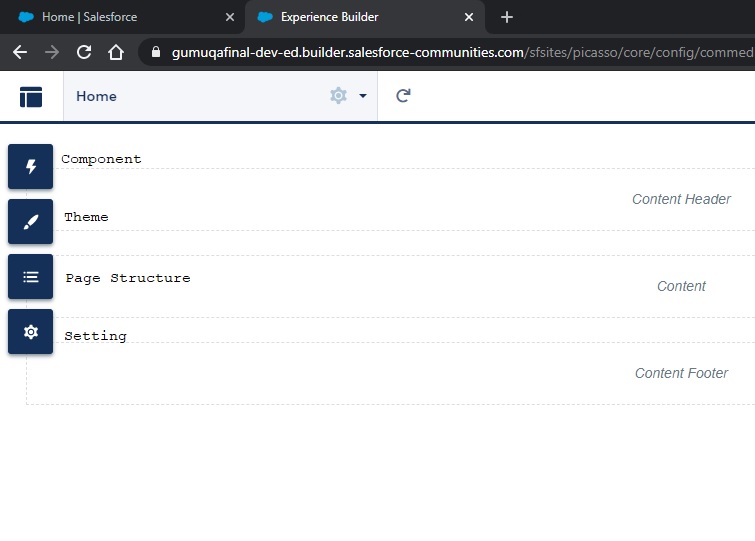
Displaying the Salesforce Lightning Component for community experience.
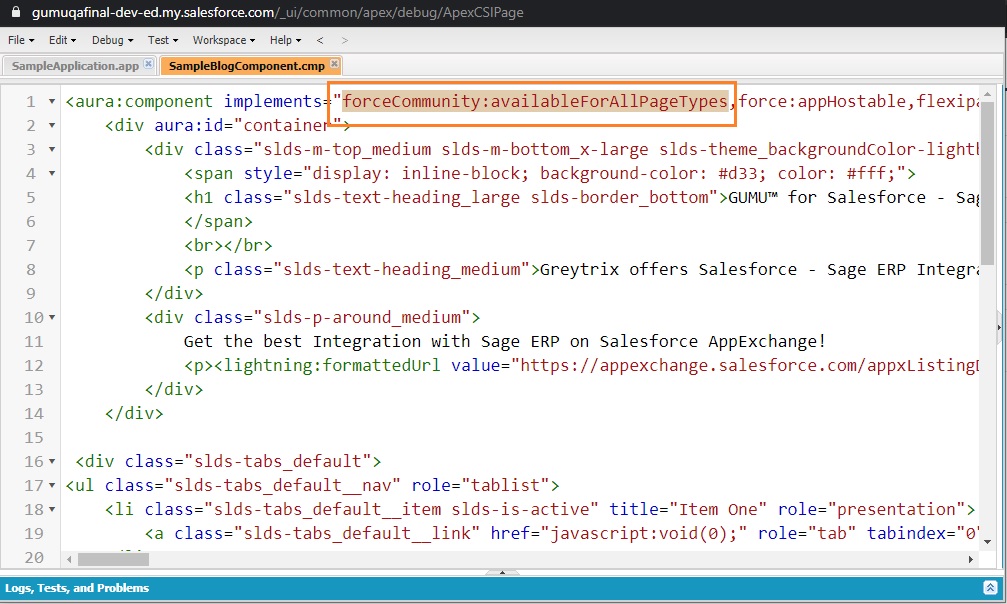
Moreover, to view the component on the community builder you need to implement the “forceCommunity:availableForAllPageTypes” interface of Salesforce lightning component bundle.
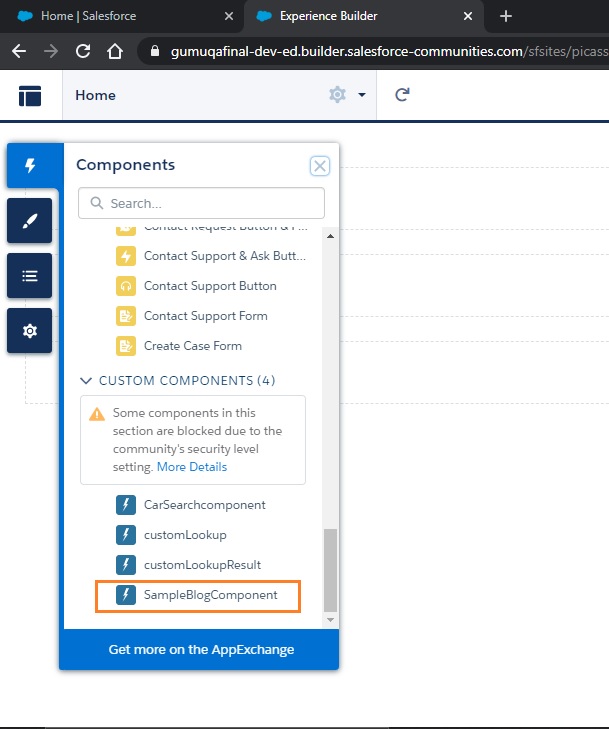
Once you implement the interface you can view the same component in Community Builders component Option.
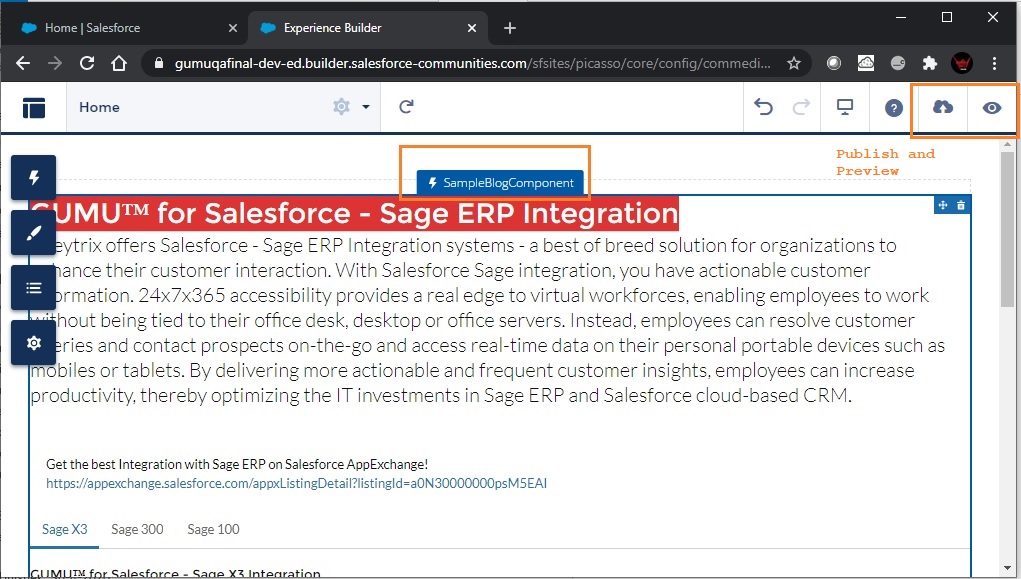
Finally, drag the component to community page and you can now set its property URL to navigate to web site. In conclusion, once ready to publish these changes, one must preview this community page
Once you publish the web site Salesforce will give you status notification along with URL and you can use that for your business process. For more information kindly refer the following Salesforce Article.
In conclusion, we hope that using the details mentioned in the blog, you are successfully activate the Products in Salesforce. If you still have queries or any related problem, don’t hesitate to contact us at salesforce@greytrix.com.
About Us
Greytrix – a globally recognized and one of the oldest Sage Development Partner and a Salesforce Product development partner offers a wide variety of integration products and services to the end users as well as to the Partners and Sage PSG across the globe. We offer Consultation, Configuration, Training and support services in out-of-the-box functionality as well as customizations to incorporate custom business rules and functionalities that require apex code incorporation into the Salesforce platform.
Greytrix has some unique solutions for Cloud CRM such as Salesforce Sage integration for Sage X3, Sage 100 and Sage 300 (Sage Accpac). We also offer best-in-class Cloud CRM Salesforce customization and development services along with services such as Salesforce Data Migration, Integrated App development, Custom App development and Technical Support business partners and end users.
Salesforce Cloud CRM integration offered by Greytrix works with Lightning web components and supports standard opportunity workflow. Greytrix GUMU™ integration for Sage ERP – Salesforce is a 5-star rated app listed on Salesforce AppExchange.
The GUMU™ Cloud framework by Greytrix forms the backbone of cloud integrations that are managed in real-time for processing and execution of application programs at the click of a button.
For more information on our Salesforce products and services, contact us at salesforce@greytrix.com. We will be glad to assist you.
Related Posts

